Guide
How to Inspect a New Monitor
Unbox a new monitor with confidence. This guide walks you through every step to identify display defects and ensure your new screen meets expectations.
Updated 2026-07-05
Why Inspecting Your New Monitor Matters
A new monitor is a significant investment, and display defects can slip through even the strictest quality control. Dead pixels, backlight bleed, color anomalies, and physical defects may not be obvious at first glance. Early identification ensures you can claim warranty support or request an exchange if needed.
Inspecting your monitor thoroughly right after unboxing not only protects your purchase but also helps you understand its performance boundaries. Even premium displays are not immune to issues, so a methodical approach is essential.
By following a structured inspection process, you can quickly spot any problems and resolve them with the retailer. Plus, a careful first check allows you to rule out user setup errors, cable problems, or compatibility issues that might otherwise be mistaken for hardware faults.
Key Areas to Inspect and Test
Visual defects are only part of the picture. To properly inspect a new monitor, you should evaluate pixel health, uniformity, color accuracy, backlight performance, physical build, and connectivity.
Check for dead, stuck, or hot pixels using solid color backgrounds. Tools like Dead Pixel Fixer make this easier by cycling fullscreen RGB patterns, helping you spot and potentially unstick problem pixels directly in your browser. Assess backlight bleed and IPS glow in a darkened room with a black image. Examine color gradients and uniformity by displaying test images and moving your head to view from multiple angles.
Do not overlook the physical aspects: ensure the casing is free from cracks, the stand is sturdy, ports are functional, and there are no signs of shipping damage. Testing all input types (HDMI, DisplayPort, USB-C, etc.) guarantees full compatibility with your devices. Finally, confirm the monitor runs at its advertised refresh rate and resolution. Use built-in test patterns or external calibration tools if available.
Step-by-step
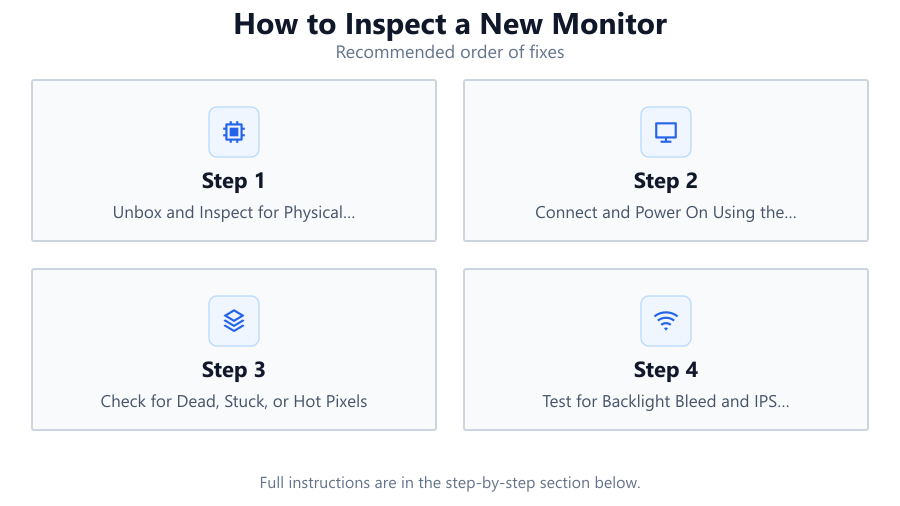
Unbox and Inspect for Physical Damage
Carefully remove the monitor from its packaging. Check the screen, bezel, and stand for cracks, scratches, or dents. Inspect the ports for bent pins or debris. Examine the power and signal cables for any visible wear or defects before connecting.
Connect and Power On Using the Correct Cables
Connect the monitor to your PC or laptop using the recommended cable type, such as HDMI or DisplayPort. Use the cable provided in the box to rule out third-party cable issues. Power on the monitor and ensure it displays an image.
Check for Dead, Stuck, or Hot Pixels
Display solid black, white, red, green, and blue screens to identify any abnormal pixels. Dead pixels appear black, stuck pixels show as bright dots in one color, and hot pixels are always on. The Dead Pixel Fixer tool can help you both detect and attempt to fix stuck pixels by cycling colors rapidly.
Test for Backlight Bleed and IPS Glow
Darken your room and display a pure black image at maximum brightness. Observe the edges and corners for uneven lighting or bright spots. Backlight bleed appears as patches of light, while IPS glow looks like a faint haze from off-angles. Note the locations and severity for warranty claims if necessary.
Assess Color, Uniformity, and Viewing Angles
Display color gradients and test images to evaluate color reproduction and panel uniformity. Move your head to various positions to check for color shifting or brightness inconsistencies. For professional work, consider running a calibration tool or using the monitor’s built-in test patterns.
Verify All Inputs and Features
Test each video input (HDMI, DisplayPort, USB-C) to confirm compatibility. Check built-in features like USB hubs, speakers, or KVM switches. Confirm the monitor runs at its advertised refresh rate and resolution in your operating system’s display settings.
Comparison
| Issue | How to Test | What to Look For |
|---|---|---|
| Dead/Stuck Pixel | Solid color backgrounds or Dead Pixel Fixer | Black or colored dots that do not change |
| Backlight Bleed | Black screen in a dark room | Light patches at screen edges or corners |
| Color Uniformity | Gradient and full-color images | Areas of uneven color or brightness |
| Physical Damage | Visual inspection | Cracks, dents, scratches, loose stand |
| Input Compatibility | Connect all ports | Image displays correctly, no flicker or signal loss |
Common mistakes
Mistake
Skipping the inspection right after unboxing
Fix: Check all aspects of the monitor as soon as it arrives to catch issues within the return window.
Mistake
Judging pixel issues too quickly
Fix: Allow the monitor to warm up and use a tool like Dead Pixel Fixer to attempt to unstick pixels before claiming a fault.
Mistake
Ignoring input and cable compatibility
Fix: Test every input port and cable type you plan to use to ensure full functionality and avoid surprises later.
Mistake
Overlooking environmental factors during testing
Fix: Perform tests in appropriate lighting and at recommended monitor settings for accurate results.
Troubleshooting
Persistent bright or dark dots on the screen
Likely cause: Dead or stuck pixels
What to do: Use Dead Pixel Fixer to rapidly cycle colors and attempt to revive stuck pixels. If dead pixels remain, contact support if within warranty.
Uneven lighting or bright patches at edges
Likely cause: Backlight bleed or panel uniformity issues
What to do: Lower the brightness to reduce visibility. If bleed is severe, document it and request an exchange if under warranty.
No image or flickering on certain inputs
Likely cause: Faulty cable, port, or incorrect settings
What to do: Swap cables, try different ports, and verify the input source is selected correctly. Test with another device if possible.
Colors look washed out or inaccurate
Likely cause: Incorrect color profile or panel defects
What to do: Adjust monitor settings, load the correct color profile in your operating system, or use a calibration tool if available.
Recommendations
- Inspect your monitor immediately after unboxing to catch any issues during the return window.
- Use Dead Pixel Fixer to detect and attempt to fix stuck or hot pixels quickly from your browser.
- Test in a variety of lighting conditions, especially dark rooms, to reveal subtle defects like backlight bleed.
- Keep detailed notes and photos of any issues to support warranty or return claims.
- Regularly check your monitor’s performance over the first few weeks to ensure no new issues develop.
Frequently asked questions
How many dead pixels are acceptable on a new monitor?
Policies vary by manufacturer. Some allow a small number, while others offer exchanges for even a single dead pixel. Check your monitor’s warranty terms.
Can I fix a stuck or dead pixel myself?
Stuck pixels can sometimes be revived using tools like Dead Pixel Fixer, which cycles colors to unstick the pixel. Dead pixels (black) are usually permanent.
What is backlight bleed and should I be concerned?
Backlight bleed is light leakage around the edges of the panel, visible on dark backgrounds. Minor bleed is common, but severe cases may warrant a replacement.
Should I calibrate my monitor after inspection?
For color-critical work, calibration helps achieve accurate colors. For general use, built-in presets and default settings are often sufficient after a basic inspection.
How often should I re-inspect my monitor for issues?
Most defects appear early, but it’s wise to check periodically, especially before your return or warranty period ends.