Guide
How to Test Correctly
Learn how to test your graphics card correctly to ensure peak performance and system stability. Our guide walks you through safe, effective stress testing using modern web tools.
Updated 2026-07-05
Why Correct GPU Testing Matters
Testing your graphics card the right way is essential for both gamers and professionals who demand consistent performance and stability. An unstable GPU can lead to crashes, visual artifacts, or even permanent hardware damage. By learning how to test correctly, you can catch early signs of hardware issues, prevent thermal throttling, and validate your overclocking settings before they cause trouble.
Modern GPUs are complex and can fail in subtle ways. Simply running a game or rendering a video is not always enough to expose problems. Purpose-built stress tests, like Check Your GPU Stability with Our Free GPU Stress Test, are designed to push your GPU to its theoretical limits. These tools simulate worst-case scenarios, helping you identify defects, cooling issues, or unstable overclocks.
Before you begin, it is important to understand that stress testing is a controlled process. The goal is not to damage your hardware but to safely reveal weaknesses in your system. Following a structured approach will ensure reliable results and minimize risks.
Key Principles and Best Practices for Stress Testing
The foundation of how to test correctly is a methodical process that prioritizes both accuracy and safety. Always start with a baseline: note your GPU’s idle temperatures, fan speeds, and power consumption. This will help you spot abnormal behaviors during the test.
Select a reputable stress test, such as Check Your GPU Stability with Our Free GPU Stress Test. This browser-based tool uses WebGL to stress your graphics card without the need for complex software installations. It is accessible, effective, and provides instant feedback on stability, clock throttling, and thermal performance.
During testing, monitor your GPU’s temperature, fan speeds, and system responsiveness. Most instability symptoms, such as visual glitches, crashes, or sudden reboots, will appear within the first 10 to 30 minutes. However, for overclocked systems or new hardware, longer tests (up to 2 hours) are recommended. Never leave your system unattended during the first stress test.
Record your results and compare them to your baseline. If temperatures rise above manufacturer guidelines, or if you notice errors, halt the test immediately. Proper documentation helps you fine-tune your setup and provides valuable information if you need to troubleshoot further.
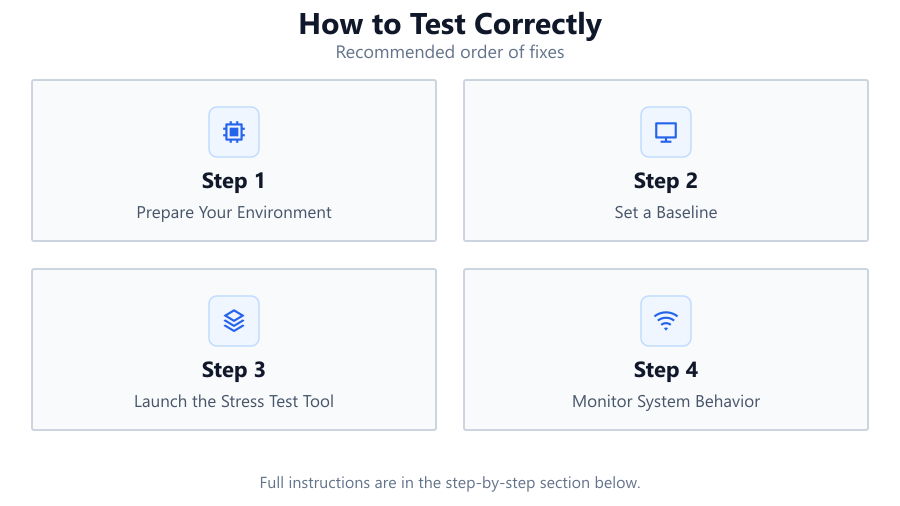
Step-by-step
Prepare Your Environment
Close all unnecessary applications to free up system resources. Ensure adequate airflow around your PC and clean any dust from intake or exhaust fans. This reduces the risk of overheating during testing.
Set a Baseline
Record your GPU’s idle temperature, fan speed, and power draw using reliable monitoring tools. Take note of your current clock speeds and voltage settings if you have tweaked them.
Launch the Stress Test Tool
Open Check Your GPU Stability with Our Free GPU Stress Test in your browser. Select the appropriate test intensity for your GPU (start with medium if unsure) and begin the test.
Monitor System Behavior
Watch for signs of instability such as screen flickering, artifacts, or audio glitches. Monitor temperatures and fan speeds throughout the test. Keep an eye on system responsiveness and listen for abnormal noises.
Analyze Results and Adjust
After the test, compare data to your baseline. If your GPU remained stable and within thermal limits, your system is likely healthy. If issues occurred, address cooling or revert overclock settings before retesting.
Comparison
| Test Type | Purpose | Best For |
|---|---|---|
| WebGL Stress Test | Browser-based, simulates heavy loads | Quick stability checks, no install needed |
| Synthetic Benchmark | Pushes GPU to max load with complex scenes | Deep overclock validation, performance scoring |
| Real-World Gaming Loop | Runs demanding game scenes repetitively | Checking game-specific stability |
| Thermal Torture Test | Focuses on maximum heat output | Cooling system evaluation |
| Light Load Test | Low to moderate stress | Initial system health check |
Common mistakes
Mistake
Testing without monitoring temperatures
Fix: Always use monitoring tools to track heat during stress tests to avoid overheating and potential damage.
Mistake
Running stress tests for too long on unstable or new hardware
Fix: Start with shorter tests and gradually increase duration as stability is confirmed.
Mistake
Ignoring baseline measurements
Fix: Record idle metrics before testing so you can identify abnormal changes during or after the test.
Troubleshooting
System freezes or reboots during test
Likely cause: GPU instability or inadequate power supply
What to do: Reduce overclock, check power connectors, and retest at stock settings.
Visual artifacts or glitches on screen
Likely cause: Overheating, unstable overclock, or driver issues
What to do: Improve cooling, revert overclock, and update GPU drivers.
Fan noise is excessively loud or erratic
Likely cause: High temperatures or dust buildup
What to do: Clean fans and heatsinks, and consider a more aggressive fan curve in software.
Recommendations
- Use Check Your GPU Stability with Our Free GPU Stress Test for convenient browser-based testing.
- Document your baseline and stress test results for future comparisons.
- Keep your GPU drivers up to date before running any stress test.
- Never leave your system unattended during the first round of stress testing.
- If instability is detected, address cooling and power delivery before retesting.
Frequently asked questions
How long should I run a GPU stress test?
For most users, 10 to 30 minutes is enough to detect major issues. For overclock validation or new builds, consider running the test for 1 to 2 hours while closely monitoring temperatures and system stability.
Is browser-based GPU stress testing reliable?
Yes. Tools like Check Your GPU Stability with Our Free GPU Stress Test use WebGL to simulate demanding loads, providing a safe and effective way to identify stability and thermal issues without installing extra software.
What are the risks of stress testing my GPU?
If performed correctly, the risks are minimal. However, excessive heat or unstable overclocks can cause crashes, artifacts, or rare hardware damage. Always monitor temperatures and stop the test if you notice unusual behavior.
Can I use stress testing to verify overclock stability?
Absolutely. Stress testing is the best way to confirm your GPU overclock is stable under maximum load. Use a tool like Check Your GPU Stability with Our Free GPU Stress Test and watch for errors or crashes during the process.