Guide
How to Test Correctly
Want to know if your monitor is truly running at its advertised refresh rate? Follow this guide on how to test correctly and ensure your display delivers the smoothest visuals possible.
Updated 2026-07-05
Why Testing Refresh Rate Matters
Display refresh rate, the number of times your screen updates per second, directly affects how smooth motion appears in games, videos, and daily use. If your monitor is set below its maximum refresh rate, you might miss out on fluid gameplay and responsive desktop experiences. Many users mistakenly believe their monitor is running at 120Hz or 144Hz, only to discover it is stuck at 60Hz due to software settings or cable limitations.
The Refresh Rate Test is a browser-based tool that instantly measures your monitor's actual refresh rate. It provides visual feedback with moving objects, detects dropped frames, and gives you key stats about your display's stability. This helps you verify your current setup, compare results to your monitor's advertised specs, and troubleshoot issues quickly.
Using a dedicated test like this is far more accurate than relying on system info panels alone. It ensures your hardware, cables, and OS settings are all working together for the best possible experience.
How to Test Correctly: Key Concepts and Best Practices
To test your monitor's refresh rate accurately, you need to control for several variables. Your browser, graphics drivers, operating system, and even your display cable can impact results. Incorrect testing methods may lead to false positives or negatives, misleading you about your setup's performance.
Start by ensuring your monitor is connected via a cable that supports high refresh rates (such as DisplayPort or HDMI 2.0 or higher). Next, double-check your operating system's display settings to confirm you have selected the intended refresh rate. Some displays revert to default refresh rates after updates or driver changes.
Run the Refresh Rate Test in a supported browser (Chrome or Edge are recommended for highest accuracy). Let the test run for at least 10 seconds to gather enough data for a reliable measurement. Observe the live Hz readout, motion demo, and any warnings about dropped frames or instability.
If results do not match your monitor's advertised specs, investigate further: check for outdated drivers, wrong OS settings, or cable limitations. Repeat the test after making changes to confirm improvements.
Finally, document your results and settings so you can quickly restore optimal performance after future updates or hardware changes.
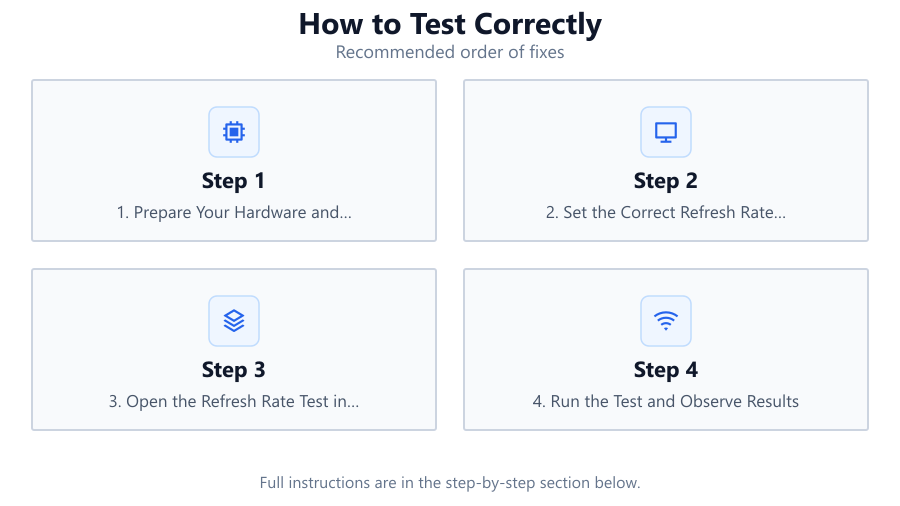
Step-by-step
1. Prepare Your Hardware and Environment
Turn off unnecessary applications and background processes to avoid interfering with the refresh rate test. Make sure your monitor is connected with a cable capable of supporting your target refresh rate, such as DisplayPort or HDMI 2.0 (or higher) for 120Hz and above.
2. Set the Correct Refresh Rate in Your Operating System
Open your OS display settings (Windows: Settings > System > Display > Advanced display settings). Choose your monitor from the list and set the refresh rate to the highest value supported. Apply changes and confirm the new setting.
3. Open the Refresh Rate Test in a Supported Browser
Use Chrome or Edge for the most accurate results. Visit the Refresh Rate Test tool and maximize your browser window. Make sure no other tabs or applications are consuming excessive resources.
4. Run the Test and Observe Results
Allow the test to run for at least 10 seconds. Watch the live Hz measurement, motion demo, and stats for frame drops or instability. Compare the measured value to your monitor’s advertised refresh rate.
5. Troubleshoot and Adjust as Needed
If the measured refresh rate is lower than expected, check your display cable, OS settings, and graphics drivers. Update or reconfigure as needed, then repeat the test to confirm the fix.
6. Document and Re-Test After Changes
Keep a record of your optimal settings and test results. After any system update or hardware change, re-run the Refresh Rate Test to ensure your display is still performing at its best.
Comparison
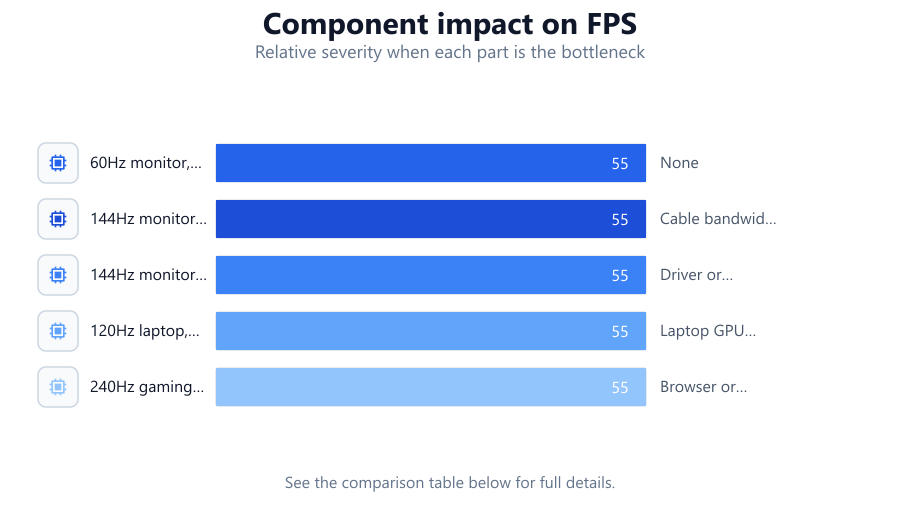
| Scenario | Expected Result | Common Issue |
|---|---|---|
| 60Hz monitor, HDMI 1.4 cable | 60Hz stable | None |
| 144Hz monitor, HDMI 1.4 cable | 60Hz only | Cable bandwidth limit |
| 144Hz monitor, DisplayPort 1.2 | 144Hz stable | Driver or OS misconfiguration |
| 120Hz laptop, external monitor | 120Hz or lower | Laptop GPU or cable bottleneck |
| 240Hz gaming monitor, HDMI 2.1 | 240Hz stable | Browser or system resource bottleneck |
Common mistakes
Mistake
Testing with the wrong cable type (e.g., HDMI 1.4 for a 144Hz monitor)
Fix: Use DisplayPort or HDMI 2.0/2.1, which support higher refresh rates.
Mistake
Not setting the refresh rate in the OS display settings
Fix: Always check and set the correct refresh rate in your operating system before testing.
Mistake
Running the test in unsupported browsers or with multiple resource-heavy applications open
Fix: Use a recommended browser (Chrome or Edge) and close unnecessary programs for reliable results.
Mistake
Assuming the monitor is running at maximum Hz just because it is advertised as such
Fix: Always verify with a tool like Refresh Rate Test and check for dropped frames or instability.
Troubleshooting
Measured refresh rate is lower than expected
Likely cause: Cable does not support high refresh rates or OS setting is incorrect
What to do: Switch to DisplayPort or HDMI 2.0/2.1, and set the correct refresh rate in display settings.
Test shows unstable Hz readings or frequent dropped frames
Likely cause: System resources are overloaded or browser is not optimized
What to do: Close background applications, use Chrome or Edge, and update your graphics drivers.
Monitor flickers or displays artifacts during the test
Likely cause: Driver or hardware compatibility issue
What to do: Update your GPU drivers, check monitor firmware, and verify cable integrity.
Recommendations
- Always check your display cable type and version before testing.
- Update your graphics drivers and operating system regularly to ensure compatibility with high refresh rates.
- Use the Refresh Rate Test after any hardware or software change to confirm optimal performance.
- Record your settings and test results for future troubleshooting.
- If you experience issues, consult your monitor’s manual for model-specific requirements.
Frequently asked questions
Why is my 144Hz monitor only running at 60Hz?
This usually happens due to using an outdated cable, incorrect OS settings, or outdated graphics drivers. Check your connections, display settings, and update drivers, then verify with a tool like Refresh Rate Test.
Can I trust browser-based refresh rate tests?
Yes, if you use a reliable tool like Refresh Rate Test in a supported browser (Chrome or Edge). System info panels can be misleading, but real-time browser tests can catch configuration issues and dropped frames.
How often should I test my monitor’s refresh rate?
Test whenever you update your system, change hardware, or notice performance drops. Regular testing ensures you are always getting the smoothest possible experience.
What should I do if the Refresh Rate Test shows frame drops?
First, close other applications to free up system resources. Then, check your cable and OS settings. If drops persist, update your browser and graphics drivers.